Sunday, August 12, 2012

Head on Over...

Introducing.....

Head on over to the new official blog! (here) I apologize in advance for switching things up, but before I was trying to run two blogs, one with all things Thrifty (this one!) and one with other projects (Babies N More Galore) So I decided to make one final 'official' blog, and I will be getting rid of these two. I promise not to switch blogs again! (Until one day, hopefully soon! I have my own URL!)   Please follow and share, and check back for LOTS of tutorials and tips! (There's already a few up there!) And have a wonderful day!

Monday, May 7, 2012

Where have I been??

Hello! I bet some of you are wondering if I will ever post again! HAHA! Yes yes, sorry its been awhile! It has been hectic in this house! Right now we are trying to close on the house we are buying! I have been very busy with projects (decor related) for the new place and have been taking pictures, but My camera cord is packed somewhere! (That connects it to the computer, it has an unusual port) So as Soon as I can find it...  I can post some tutorials and ideas! :) Little look into what I have been up to:
Necklace holder
4th of July wreath
Wall decor

Stay tuned! :)

Thursday, February 2, 2012

Repurposing A Sweater... into a pillow!

I recently bought a new bedspread (from Target). I just LOVE it. I have been wanting some cute 'throw' pillows to spruce it  up a bit though. While I was at Epic (a local thrift store) a few weeks ago, I began looking through the sweater section to find a color/ pattern I liked. I also picked up a pillow I liked (for shape/ size since it would just be recovered). I did this because it was only $1, made my life easier, and I had a coupon!

When I got home I started by seam-ripping the old pillow apart... and pulled out all the stuffing....
Then I layed my sweater out nice and flat... and placed the old pillow covering on top of it (you might want to iron it...)
  I cut around the pillowcase... Don't forget to add a seam allowance! I used about 1/2 an inch but I just eye-balled it


Then, with right sides TOGETHER I stitched around the outside of my new pillow cover...(I used a zig-zag stitch as it provided less pull on the fabric...) 


And left a small opening to restuff the pillow.... Then turned my new pillowcase right side out.


Now, originally I had just planned on re-stuffing the pillow with the stuffing that was in it originally.... However, this did not turn out like I had planned... The sweater material isnt stiff enough to hold its shape so it was lumpy...


So I unstuffed my pillow, stuffed the batting back into the original pillowcase and sewed the original pillowcase back together... then I slid my new pillowcase over the old one... (If you end up doing this you will still need to take apart the original so you can see how big to cut your sweater material)

I folded the open edge inside itself and stitched the opening closed! (sorry I forgot to take a picture!)

My new Pillow! all for about... $3... and I still have leftover sweater material! (Baby leggings are in the plans....) More pillows are also in the plans... as this little accent pillow is lovely.. but not enough to satisfy me!


(sorry, my bed is slightly messy... made... but messy...) :)


*your sweater material may stretch out a little during sewing.. but should shrink again once washed for a more snug fit

Monday, January 23, 2012

*update* Easier Paint Cleanup...

*UPDATE:*
I have since found that ALUMINUM FOIL works much better. Yes, the bag works, but you have to tape it to fit well and the aluminum foil you can just bend in all the right places and it will stay put!


I found this makes it a lot easier to clean
 up my paint mess when I am done....

I slide my tray into a garbage bag and tape it down so it is secure. That way I can just throw the bag away and not have to wash out the tray! (Or in my case here, end up with a painted tray! I obviously started doing this project a little too late... sorry paint tray...)

Clean Labels off of Glass Jars easily

I posted this on my Babies N More Galore Blog, (here) but decided to post here as well, since this is such a great way to reuse and repurpose something, and that's what this blog is all about!

Have an empty Jar laying around your kitchen that you would like to turn into a project! (I love to do this, so cheap! And a great way to 'recycle'!) Are those glass jars covered in sticky labels that just leave goo and paper behind when you try to peel them off?! Heres how I get mine off, super easy! (I suggest using this on GLASS jars only!)

First, wash your jars and put the lids back on (if you chose).
Peel off most of the label with your hands.

Boil a large pot of soapy water.


Once the water is boiling, put your jars in the water and let boil for several minutes. (I used tongs to get my jar out and to turn it in the water).
Take your jar out and let it cool down.
Then I washed my jars once more to clean off the soap and the last of the goo (it came right off after boiling it, otherwise I would have had to scrub diligently at it!)


Now what to do with these jars.... lol


(I have also heard that putting them in a solution of bleach water does the same thing, but I have never tried this for myself!)

Friday, January 20, 2012

New Blog!

Hello! Thanks for stopping by! I have created another blog! I am planning on keeping this one too, but it will strictly be for my thrifty finds and creations. All other projects and creations can be found on my blog here Babies N More Galore (expect things such as the car seat recovering, skirts, tutorials, diy home projects, clothes, recipes, tips, etc! Everything I do that wasn't found in a thrift store or garage sale!) :)

Monday, January 16, 2012

Peanut Butter Rolo Cookies

I have to thank Melissa Fletcher for this wonderful idea :) (who got the idea from a little old lady in the checkout lane, so thanks to her too)

 These are so delicious... and so simple too! I used Betty Crockers peanut butter cookie dough mix, because I did not feel like making it from scratch, but you could just as easily make your own homeade peanut butter dough. Might taste better! And healthier! But more dishes and time.. so I took the easy way out :)

 I prepared the dough following the directions on the package (added egg, oil, and water) (I was making them for a party so used two packages)
At first I used a wooden spoon to stir the dough.. but It seemed really wet and not mixed well... even though I stirred it like a madwoman... so I got out the blender, and it GREATLY improved in texture...
Then I put some dough in my hand, flattened it a little bit, placed a rolo in the middle.. and rolled the dough around it so I could no longer see any of the rolo.
After rolling out all my cookies, I baked them according to the package directions. In my case this happened to be at 350 degrees, for 8-11 minutes. I put two sheets in the oven for 5 minutes, then switched them (I like to switch them because if I leave one on the bottom the whole time, it always seems to brown faster than the other sheet) Then I put them in for another 4 minutes (so a total of 9 minutes) I found this time to be just right.
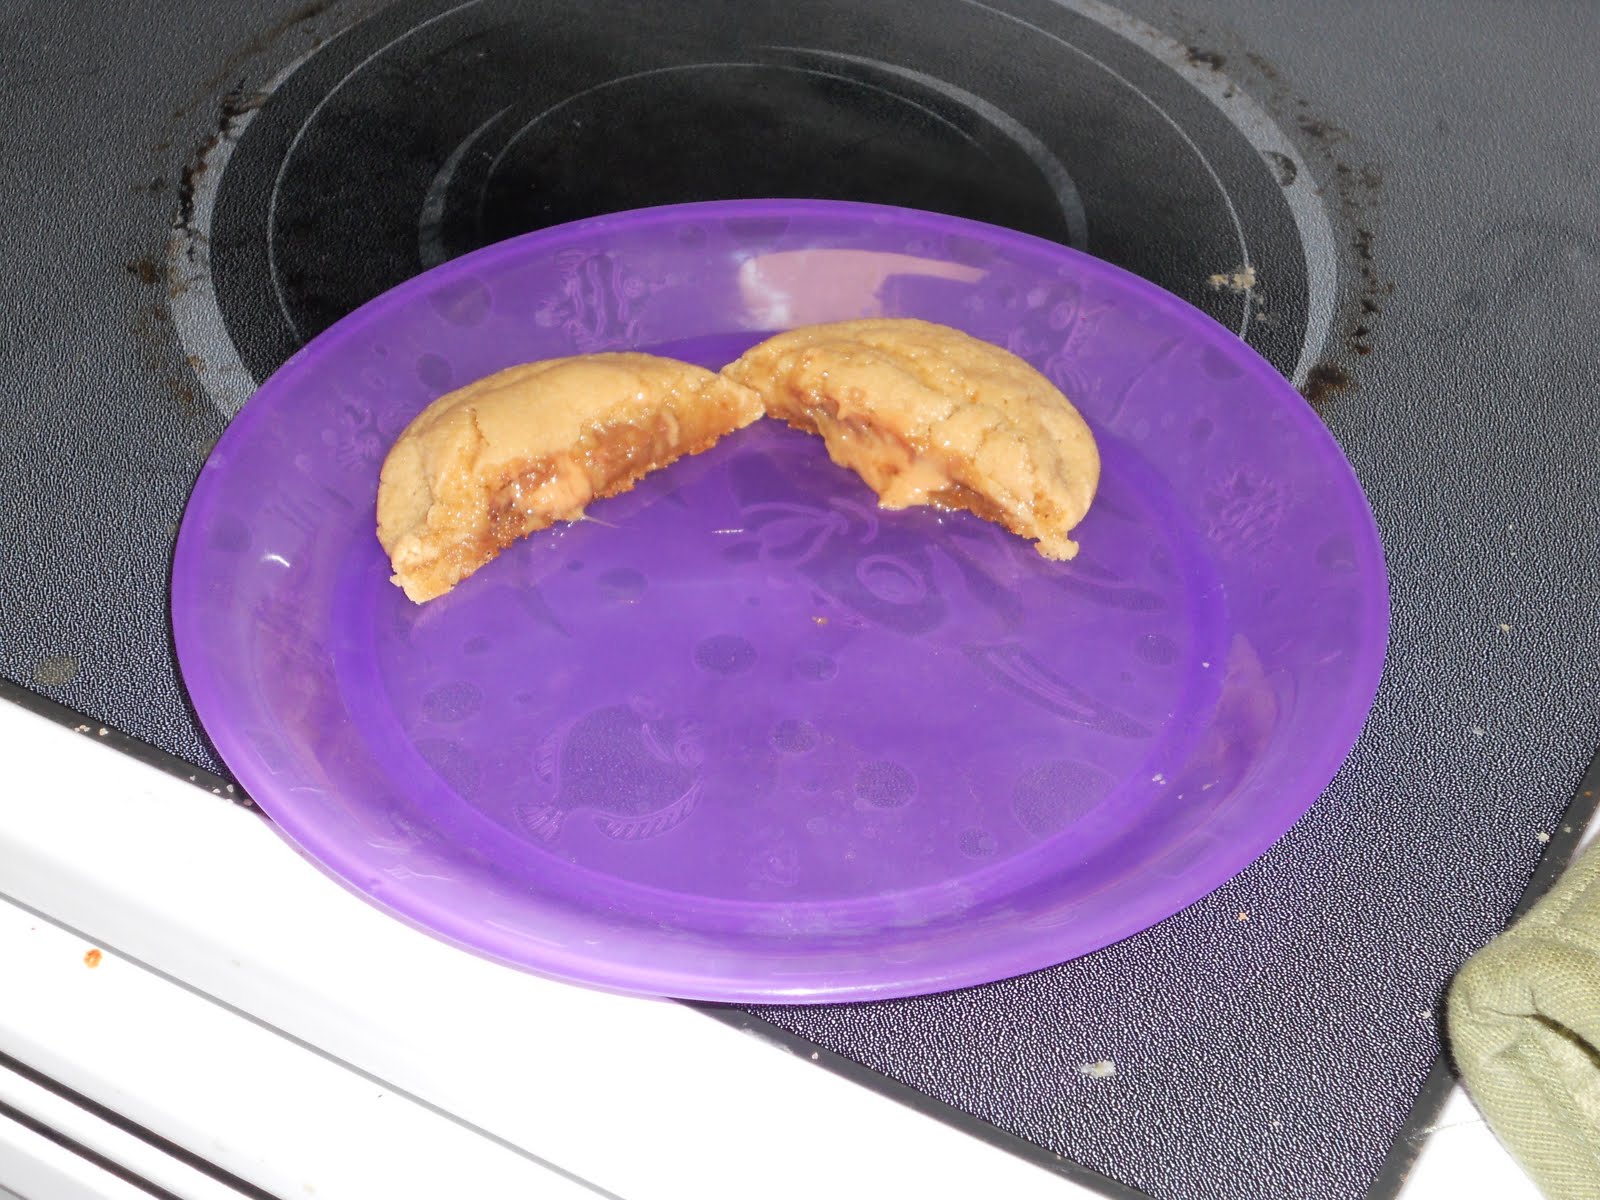
Keep in mind they may still be a little dough-y, this is good as they will continue to bake a little bit more outside of the oven (not TOO dough-y though!)
  Put them on a cooling rack, and once they're cool enough to touch them, enjoy their yummy gooyness!