While at goodwill a few weeks ago... I found this jewelry box.
I had been wanting to get one for my little girl because her bracelet and earring stash is slowly growing... and I am getting tired of storing it in her dresser drawer... and I mean, c'mon what girl doesn't need a jewelry box?! I was not too fond of the color choice.. and it was quite dirty... but I though the structure and durability of it was quite great! so I decided to paint it! Painting is seriously the easiest way to turn something drab into something fab!!! :) So here is a quick run down on the basic steps I used, which can be applied towards almost any painting project!
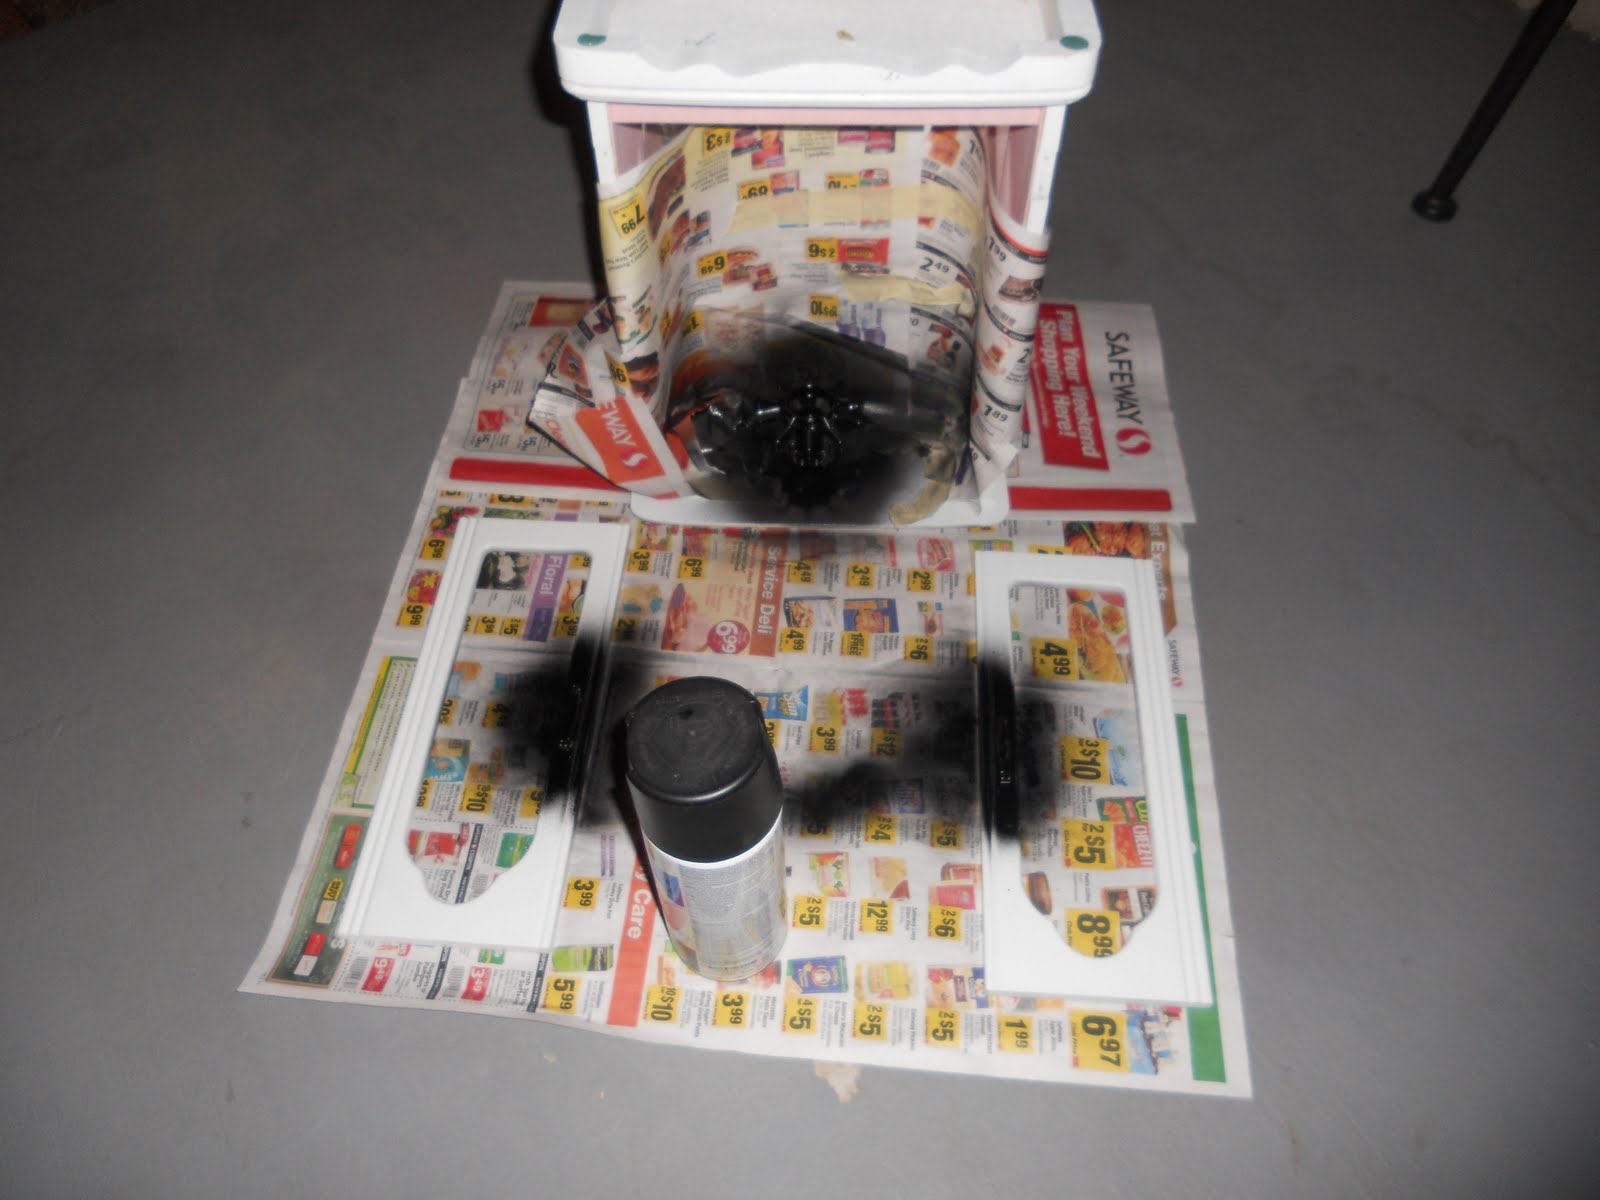
So first things first, I wiped down the whole thing with a damp cloth to remove dirt and dust. Then I removed all the hardware I could...
(I put the hardware in a bag so it would not get lost) Then I taped up that parts I did not want ANY paint on (like the mirror) and didnt care about the parts I was going to spray paint again, cuz you'd never be able to tell! Then I painted all the hardware I wanted to paint...
I used rust- oleums paint w/ enamel in it. while I love the glassy look it gave my piece... I would never reccomend it... it takes forever to dry and is sticky to the touch (like wood stain) getting it all over the place and almost impossible to get off!! After letting it dry, I taped up all the hardware I had just painted (This hardware did not come off the jewelry box unfortunately, otherwise I'd advise taking it off completely.
Sanded... (I used a medium grit sanding sponge)
Wiped with a damp cloth...
And spray painted the color of my choice.. (brown) I started on the bottom cuz to do the bottom I had to lay the top on the ground, and preferred to do this BEFORE painting the top :)
After everything was completely dry, I put all the hardware back on, took off all the tape, and cleaned it! I was going to glaze it.. but decided against glaze for this project :) I am thinking about removing the white border in the glass (not the flowers, but the part that frames the wood) But Ill save that for another day...


No comments:
Post a Comment